DIY Shade Sails
Standard Sizes - 316 SST Cable EdgedOrders received after 1st November may not be completed by Christmas and will be completed in the new year
“How to Install a Sail in 8 Easy Steps”
- Put the seams and hems on the top. This’ll stop mould build-up and make it easier to dry.
- Attach the direct fix points first.
- Open, lube, and hang the turnbuckles off the posts. Use some graphite anti-seize, vaseline, sewing machine oil, or axle grease. It’s important to lube the turnbuckles because SST is brittle and will seize if you’re not careful.
- Make sure the right-turning end of the turnbuckle is on the post, not the sail. The left-hand end goes on the sail.
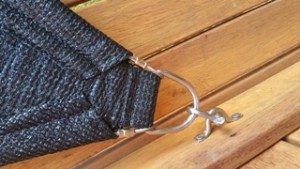
- Lube the corner fitting (D ring) cable groove. This’ll stop the cable from sticking as you tighten the sail. A spray can of lubricant with a nozzle is the easiest way to do this.
- Fix the sail to each fixing point using the starter cord (rope) attached. Loop it over the post, back to the sail 2 or 3 times to get some leverage.
- Get the sail into a position you’re happy with, then measure each gap. If necessary, order some turnbuckles and/or cable trace from our hardware page.
- Attach and tighten the turnbuckles sequentially until you have enough tension on the sail. The fabric should be pulled tight and the cable should be pulled tight. If your fixing points are strong, you can put plenty of tension on the sail. Use your judgement. The tighter the sail, the better it will handle storms.
Standard Sized Shade Sails are identical in production to our Custom Range.
Gusseted Corners, Nylon Webbing Strap and Commercial Quality Shade Cloth.
Most importantly, each Shade Sail is 316 SST Cable Edged allowing you to fully tension the Shade Sail and in so doing, you will make the Shade Sail virtually impervious to the year round westerly wind gusts and summer storms.
These are the best quality Shade Sails and absolute value for money.
Because we use hook ended Turnbuckles, you do not need a D Shackle if you use a Turnbuckle on a corner.
PLEASE NOTE: TURNBUCKLES AND D SHACKLES SOLD SEPARATELY.
LESS WORK FOR YOU!
We balance then swage both ends of the cable at the Factory.
No cable adjustment necessary.
Ready to hang, out of the box.
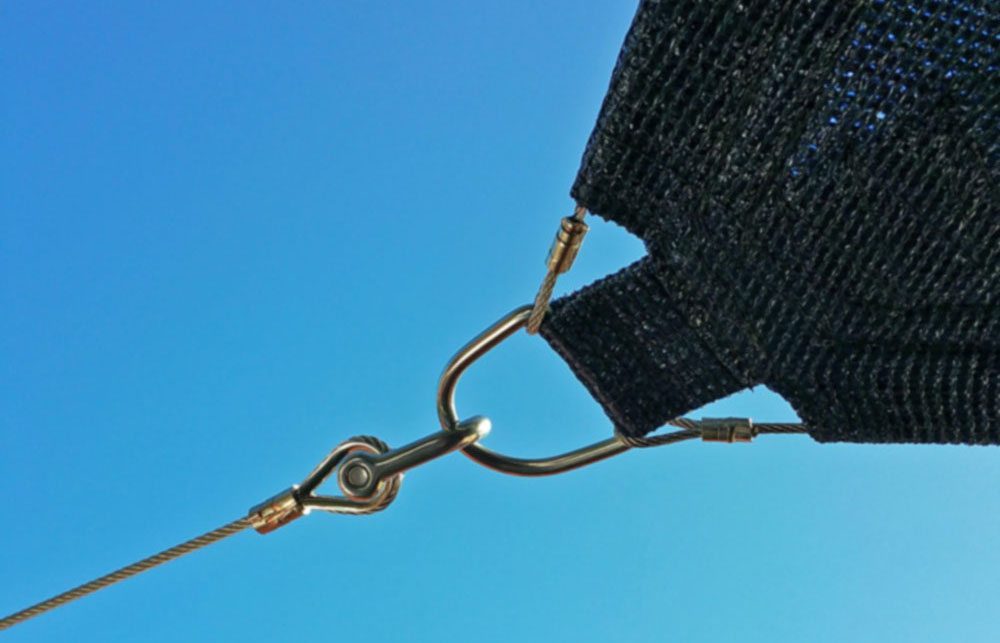
CABLE TRACE
Note the Cable Trace takes the Shade Sail to the distant fixing point.
You should allow for a turnbuckle inside the Cable Trace distance.
When you order your Cable Trace, subtract the maximum (open) size of the turnbuckle you wish to use from the Cable Trace size you have ordered.
eg. If you are trying to close a 2 metre gap, then the Cable Trace will be 1700mm plus a 10mm Turnbuckle, which has a range of 250mm – 350mm.
IMPORTANT
Please read ‘Standard Shape Shade Sail Instructions‘ before ordering.
Showing 17–32 of 63 results
-
Sale!
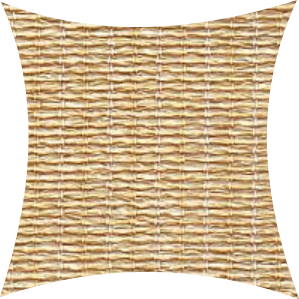
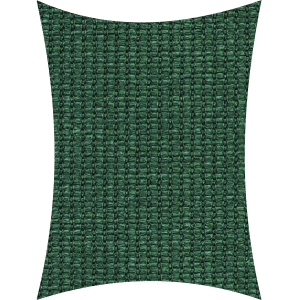
4 point Shade Sail – 3.5mtrs x 3.5mtrs
Price range: $376.00 through $396.00 -
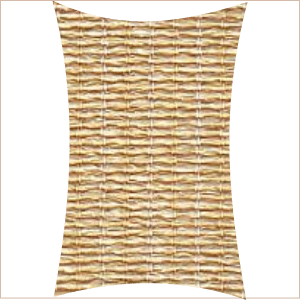
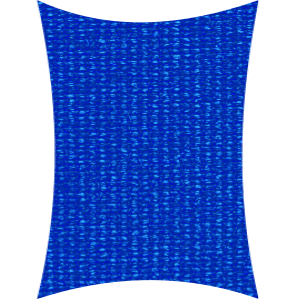
4 point Waterproof Shade Sail – 3.5 mtrs x 5mtrs
$861.00 -
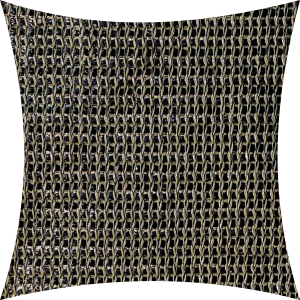
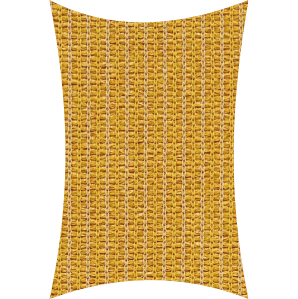
4 point Waterproof Shade Sail – 3.5mtrs x 3.5mtrs
$723.00 -
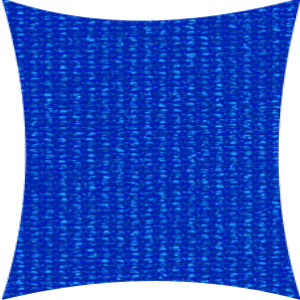
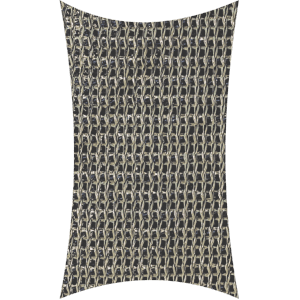
4 point Waterproof Shade Sail – 3.5mtrs x 4.5mtrs
$793.00 -
4 point Waterproof Shade Sail – 3.5mtrs x 4mtrs
$744.00 -
Sale!
4 point Shade Sail – 4mtrs x 4mtrs
Price range: $418.00 through $440.00 -
Sale!
4 point Shade Sail – 4.5mtrs x 4.5mtrs
Price range: $433.00 through $510.00 -
Sale!
4 point Shade Sail – 5mtrs x 5mtrs
Price range: $554.00 through $583.00 -
Sale!
4 point Shade Sail – 5.5mtrs x 5.5mtrs
Price range: $626.00 through $659.00 -
Sale!
4 point Shade Sail – 6mtrs x 6mtrs
Price range: $700.00 through $737.00 -
Sale!
4 point Shade Sail – 3mtrs x 3.5mtrs
Price range: $364.00 through $383.00 -
Sale!
4 point Shade Sail – 3mtrs x 4mtrs
Price range: $374.00 through $394.00 -
Sale!
4 point Shade Sail – 3mtrs x 4.5mtrs
Price range: $388.00 through $408.00 -
Sale!
4 point Shade Sail – 3mtrs x 5mtrs
Price range: $412.00 through $434.00 -
Sale!
4 point Shade Sail – 3mtrs x 5.5mtrs
Price range: $442.00 through $465.00 -
Sale!
4 point Shade Sail – 3.5mtrs x 4mtrs
Price range: $397.00 through $418.00